How to max out the N54L
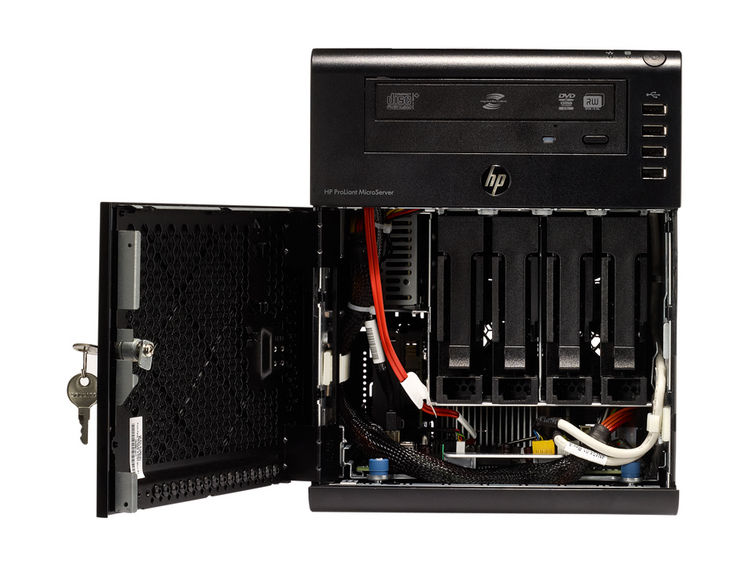
The N54L is a fairly old HP MicroServer which was developed as a SoHo solution.
By default it comes with an AMD Turion CPU, 4 GB RAM and 4 HDD bays.
General Info
The full specification list is the following:
Processor:
– AMD Turion™ II Neo N54L (2.2GHz)
– AMD RS785E/SB820M chipset
Memory:
– Two (2) DIMM slots
– 4GB (1x4GB) Standard/8GB Maximum, using PC3-10600E DDR3 Unbuffered (UDIMM) ECC memory, operating at max. 800MHz
Storage Controller:
– Embedded AMD SATA controller with RAID 0, 1
– Embedded AMD eSATA controller for connecting external storage devices via the eSATA connector in the rear of the server
Internal Drive Support:
– 4 Internal HDD Support
– Maximum internal SATA storage capacity of up to 8.0TB (4 x 2TB 3.5″ SATA drives)
Network Controller:
– Embedded NC107i PCI Express Gigabit Ethernet Server Adapter
Expansion Slots:
– Slot 1: PCI-Express Gen 2 x16 connector with x16 link
– Slot 2: PCI-Express Gen 2 x1 connector with x1 Link
– Slot 2-2: PCI-Express x4 slot for optional management card
USB 2.0 Ports:
– Seven (7) USB 2.0 ports: 4 front , 2 rear, 1 internal (for tape)
Power Supply:
– 150 Watts Non-Hot Plug, Non-Redundant Power Supply
Not much can be done about the CPU, however, as far as the memory and storage is concerned, they can be both maxed out in order to get the best out of this small server.
I bought this server approximately 7 years ago at a liquidation sale.
I had the luck to get it brand new for 150€ and I am amazed that today it sells for the same price as refurbished.
BIOS upgrade
Before you can max out the capacity of the HP N54L server you must mod the BIOS and you can find a detailed video about how this can be achieved here:
The video references the following forum post and you should also take a look at this blog post about the same matter.
I will not go into detail about the upgrade in this case since both posts are fairly comprehensive and do not require further reiteration of the ideas.
The BIOS download links are also working so there should not be any concern in this case either.
RAM Upgrade
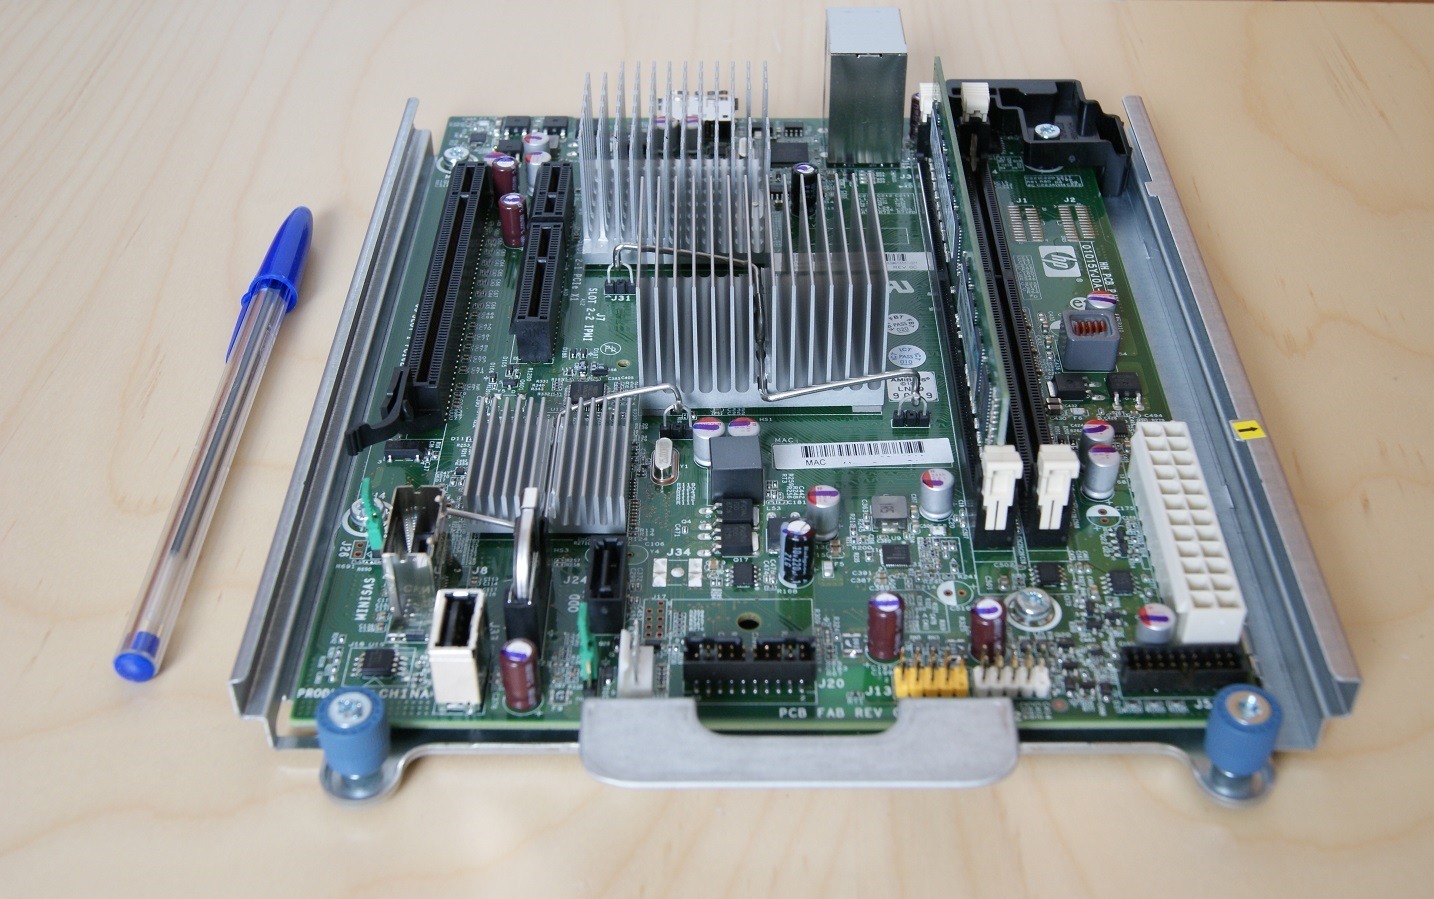
Now, once you have the server up and running with the latest BIOS you can upgrade the RAM.
There are two RAM slots and one 4GB RAM is provided with the server, however, the BIOS mod allows up to 16GB of RAM so a good choice to upgrade the RAM should be the Kingston KVR1333D3E9SK2 2x8GB kit.
Now, once the RAM upgrade is sorted out, the storage capacity can be increased too.
Storage Upgrade
First of all, if the old BIOS limited the sATA ports to 4TB drives you can now easily fit the HDD bays with 8TB drives, or even higher if you wish.
But this is not all.
The HP N54L server also supports expanded storage options through either PCIe > sATA cards and also through the on-board USB and additional sATA port.
If you want to recycle some old or unused 2.5″ drives that you have around and also use a PCIe NVMe card, just like I did then you can do so easily.
First of all you will need to replace the optical drive (who the hell still needs/uses one of those these days?) and for that you should get a fairly cheap 6×2.5″ caddy like this one from Oimaster.
By default you have mounts for 6×2.5″ drives, but there is enough space to fit in 8×2.5″ drives.
You will need to find a way to stick two pairs of drives together and most probably you should consider the use of double sided sticky tape.
Now, once you have 8 drives mounted on the Oimaster caddy you will need to provide them with power and sATA connections.
Let’s sort that out too.
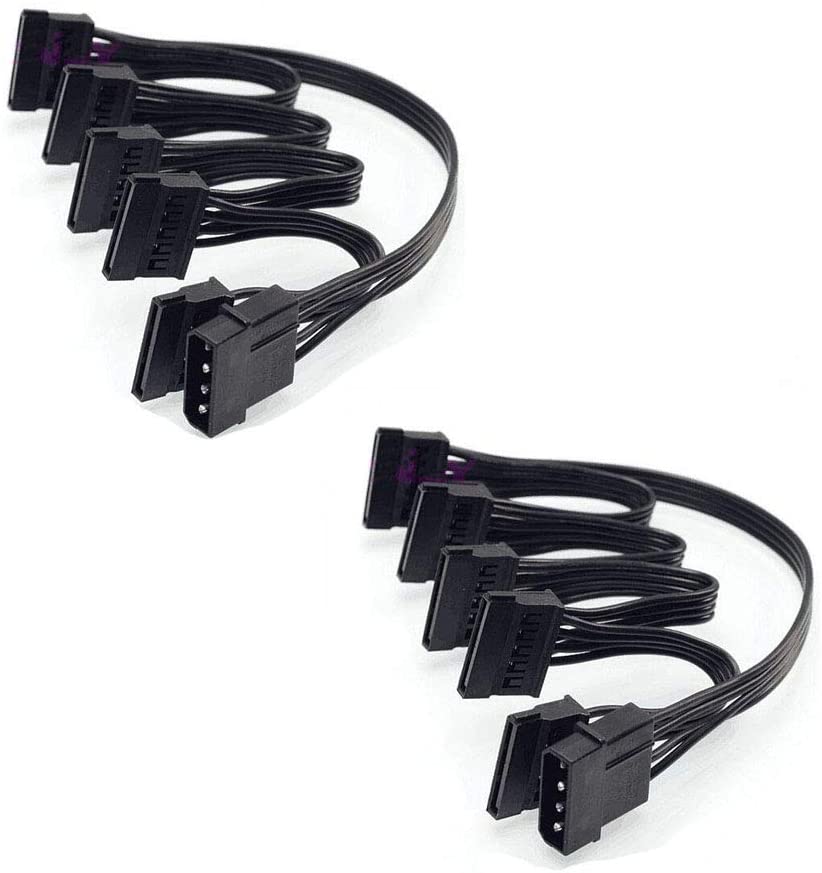
The upper part of the server already has two MOLEX connectors and you can convert those two MOLEX connectors to 10 (yes, TEN) sATA connectors with the help of these adapters.
Now, to connect 8 drives via sATA you will also need a PCIe to sATA adapter and this Marvell 88SE9215 card worked best for me.
I must warn you though, fitting it the card and the sATA cables isn’t easy and may become fairly tricky.
I managed to do it by mounting the card on the mainboard, sliding the mainboard halfway through and then connecting the sATA cables once inside.
The card comes with the 8 sATA cables required, they are long enough and you can fit them from above, through the spaces around the end of the power supply.
With these extra parts you should now have 8×2.5″ sATA drives fitted, connected and powered in your HP N54L server.
However, there’s room for more.
Incredible isn’t it?
If you want to take advantage of the on-board USB port then you can use this adapter from Sabrent.
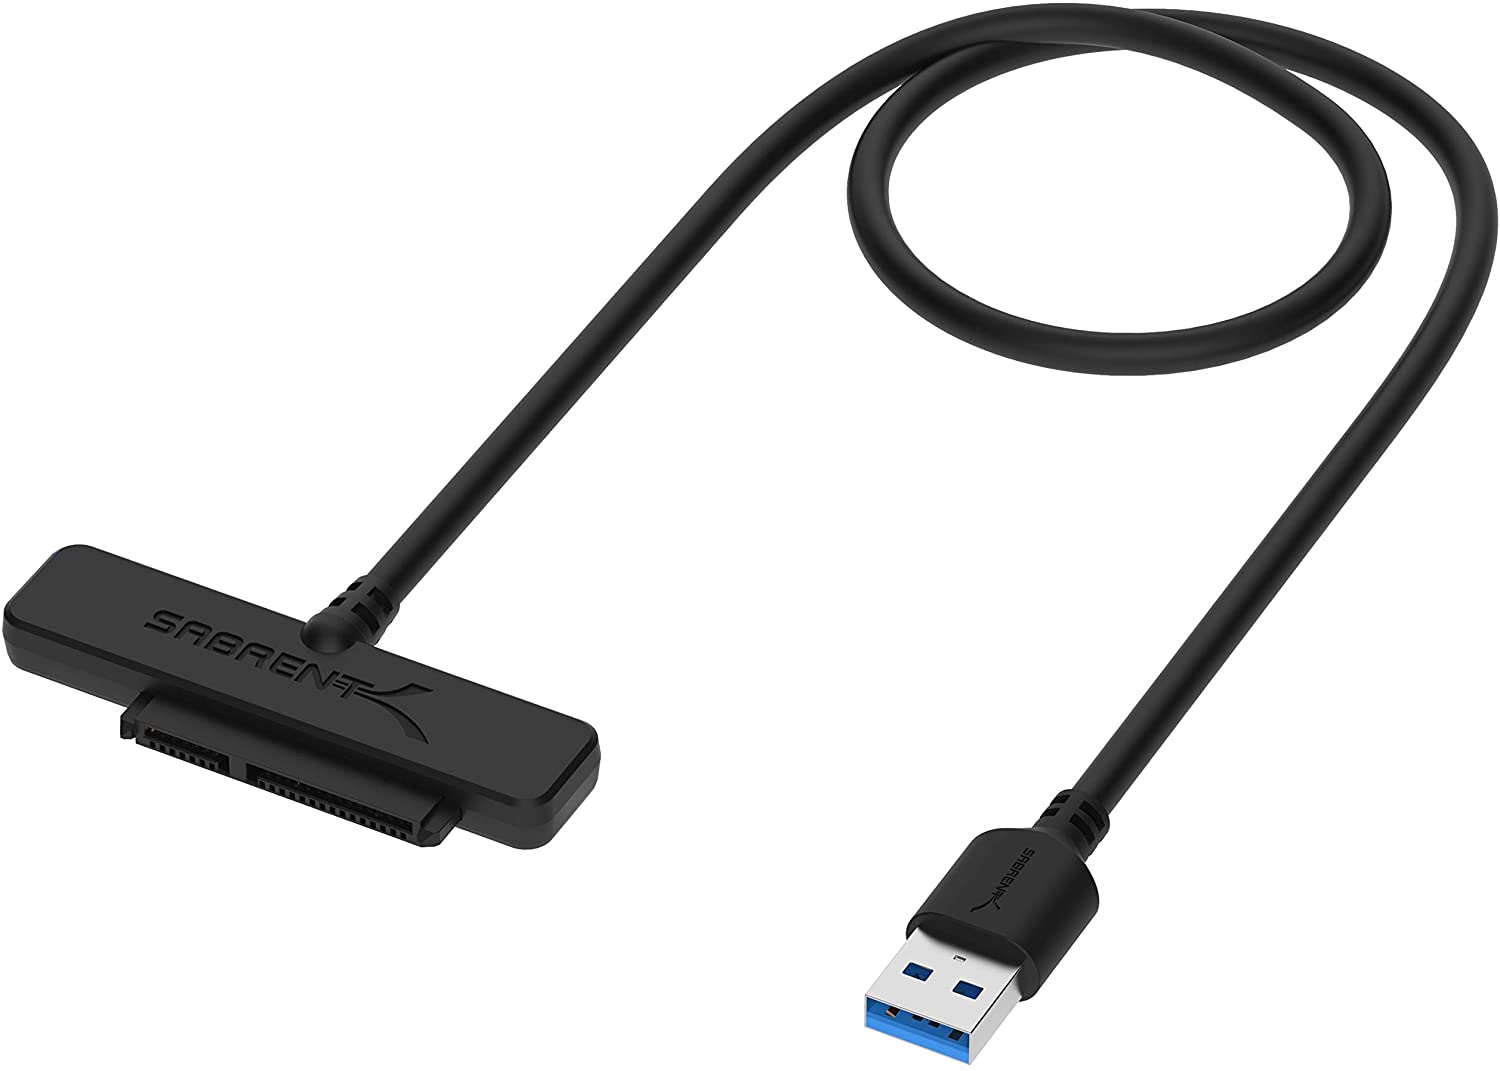
I decided to connect my main/boot drive using this adapter.
This brings the total number of drives connected to 9, but there’s room for more.
The mainboard also has an on-board sATA connector which can be used in association with a sATA cable and can be powered on by one of the remaining sATA power connectors.
Just find a sATA cable that’s long enough and take it up to the top back of the server.
Obviously, if you have reached this point you will see that the last two 2.5″ drives don’t have a dedicated location, but since on the top back on the server you still have room you can carefully place both drives in the empty space that you have there.
It will look somewhat ugly, but it works.
Think that this is all?
It isn’t.
Remember that the mainboard has two PCIe slots (actually three, but just two are usable).
One of the PCIe is already used by the 8xsATA adapter so there’s one full width PCIe slot left.
You can use the second one to add another sATA adapter (but you won’t have any space to fit in more drives, even 2.5″ ones) or you can use it with a PCIe to NVMe M.2 adapter.
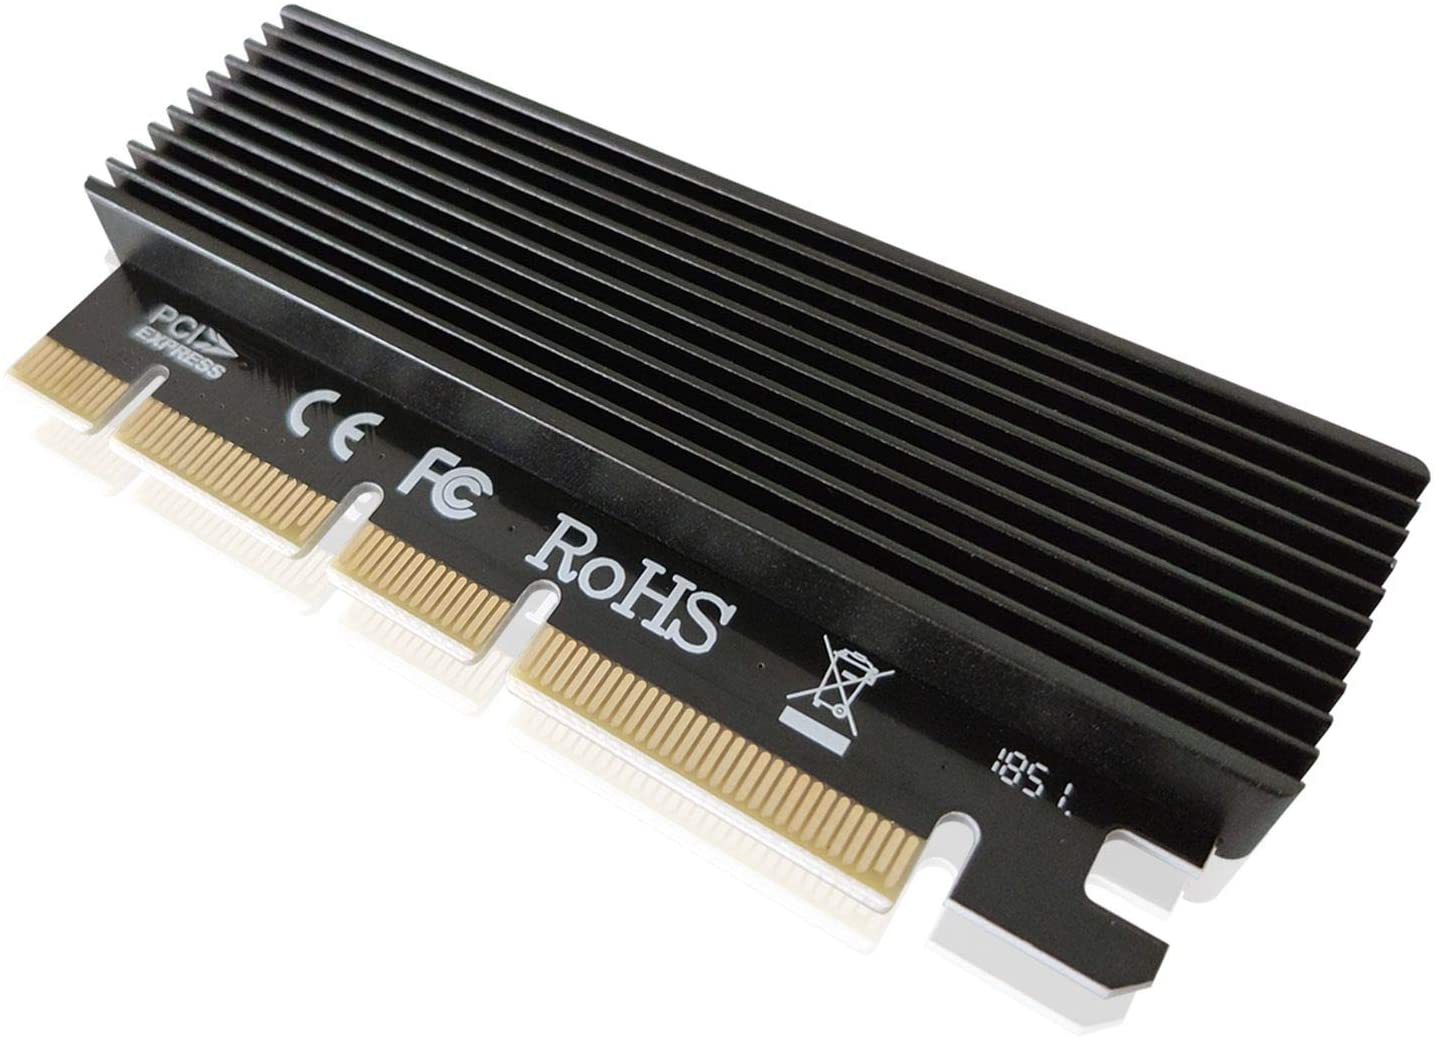
You can get such an adapter for cheap on Amazon.
And you can mount any M.2 NVMe drive on it, like this 2TB one.
Again, fitting this in may be a tricky task and you should mount it before mounting the other sATA adapter.
These little hacks will allow you to have 16GB RAM and a total of 4×3.5″ drives in the original caddies which can be 12TB drives like these ones from Seagate along with 10×2.5″ drives which can be 5TB drives like these ones from Seagate along with a 2TB NVMe M.2 drive that I already referenced above.
The 4×3.5 drives would total 48TB, the 10×2.5″ drives would total 50TB and the NVMe M.2 drive would add 2TB more which increases the storage capacity of the small HP N54L server to 100TB.
Crazy isn’t it?
Needless to say that the server comes with 7 external USB ports on which you can also connect 5 external drives as well. (you should keep 2xUSB for the mouse and keyboard)
You can go for these 12TB drives as they come with a cooling system included.
Don’t worry about connectivity issues or power draw due to the USB drives.
For as long as you connect external drives which have their own external power supply then you should not experience any issues with their operation.
Could you add more external drives?
Probably yes, but I’d advise against using cheap USB hubs to split the load.
You’re better off with this APANAGE USB 3.0 hub which comes with its own power supply and can properly handle the load of multiple devices.
Even so I would say enough is enough and I would not stress the server out too much.
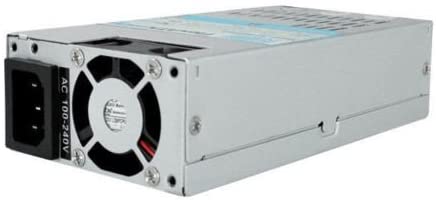
With all this extra workload the only vulnerable component would be the power supply which can be bought for cheap if needed to be replaced.
With a considerable and long term investment you can take the HP N54L server to 160TB of storage which is insane if you ask me…
Hope this helps out some of you…


Written by Malin
Self taught IT enthusiast with over 16 years of online background experience. On top of that I'm a blogger, webmaster, husband and father.